
9/6/2022 Word 4 Page 1 of 11
For class, open the Word Part 3 Example.
Pictures
Keep your mouse on or below the word Equipment.
Click on the Insert tab on the ribbon
Click on Pictures button from the Ribbon.
When the file directory opens, choose your picture’s
location from the directory that opens. For class, we are
going to choose Documents and then Publisher.
Click on the picture that you want (TechZone-logo-
black-symbol), it will become highlighted.
Click on the Insert button.
To resize the image, click on the
image to select it then move your mouse to one of the squares
surrounding the image so that you get a two-way arrow. Click and
drag to shrink or expand the image.
To center an image on the page, click on the image to select it then click the center alignment
button on the home tab. Your image will move to the center of the page in that area.
We want to move are picture to the top right. For us to do that we need to use Text Wrap.
MICROSOFT WORD PART 4
Working with Pics and Text
wrapping features
Formatting & Compressing Pics
Use Text boxes in Word
Working with Tables & Charts
O
F
F
I
C
E
2
0
1
6

9/6/2022 Word 4 Page 2 of 11
To make the text wrap around, go above, or go
below your picture:
Click on the image you would like to change
alignment for.
Click on the Format tab that will appear only
when the image has been clicked on.
Click on the Wrap Text button.
Choose an option from the list. These
options include:
o In Line With Text which is how all
pictures appear on your document by
default.
o Square which wraps the text around
your image, keeping the words
squared off.
o Tight allows the text to flow around
your image but conforms to the
shape of the image.
o Behind Text places your image
behind any text on the page.
o In Front of Text places your image in
front of any text on the page.
NOTE: Once you select one of the Wrap Text option
of your choice, if you want to be able to move your
picture to the corner of the page up to the margin
area you will need to click on the Wrap Text button again and chose Fix Position on Page.
Online Pictures
On the Insert Tab on the Ribbon click on Online Pictures. The task pane will open. Type a
description of what you are looking for in the Bing Image Search box. Hit the enter key to
search the web.
The computer will search for
images that match that description.
You must be connected to the
internet for this to work.
To insert an image into your
document, click on the place in
your document that you would like
the image to appear. Then click on
the image from the search results.
Then click on Insert. The image
will appear in your document.

9/6/2022 Word 4 Page 3 of 11
Text Boxes
Adding a text box to a document will allow you to place text in a spot that would normally be
complicated to do. Plus, your text box can have a border around it to make it stand out.
Click on the Insert Tab. Click on the Text Box button.
Choose a text box style from the list that pops out. A new text box will appear on
your page.
The text inside is highlighted in blue, so you just have to start typing.
Once you have created your text box you have the option to relocate it.
Click on the text box border until you see this type of border:
Once the text box is selected you can move the box by using
the arrow keys on your keyboard.
OR
Pass the mouse over the box until the cross shape appears. Hold down the left
mouse button and drag your text box to its new location.
Release the mouse button to place the box.
You can also resize a text box by placing your mouse cursor over one of the resizing handles
(circles or squares) so that you have the double arrow. Click and drag to resize.
You can also change the text box shape to make it more interesting.
To do this:
Select the text box by clicking on it. The format tab will
appear.
Click edit shapes on the format tab.
Hover over Change Shape to bring up menu.
Click the shape
that you want.
To delete a text box:
Click on the text
box frame twice so that you have a solid line around it.
Press the delete key on your keyboard.
[Grab your reader’s attention with a
great quote from the document or
use this space to emphasize a key
point. To place this text box
anywhere on the page, just drag it.]

9/6/2022 Word 4 Page 4 of 11
OR
Right click on the frame
Left click on “Cut”
Fill and Line Color
To add fill color:
Click anywhere inside the text box.
The Text Box Tools Format tab should appear. Click on it.
On the ribbon, click on the Shape Fill
button. Choose a color, or select No Fill
to make it transparent.
Or, if you want to choose from a
premade box style, click on the down
arrow next to the examples of boxes to
see all of your options.
To add color to a border:
Click on the text box.
The Text Box Tools Format tab should appear. Click on it.
Click on the Shape Outline button.
Click on the color you wish to select.
This menu also allows you to choose the thickness (weight) and
style of your border.
9/6/2022 Word 4 Page 5 of 11
Practice:
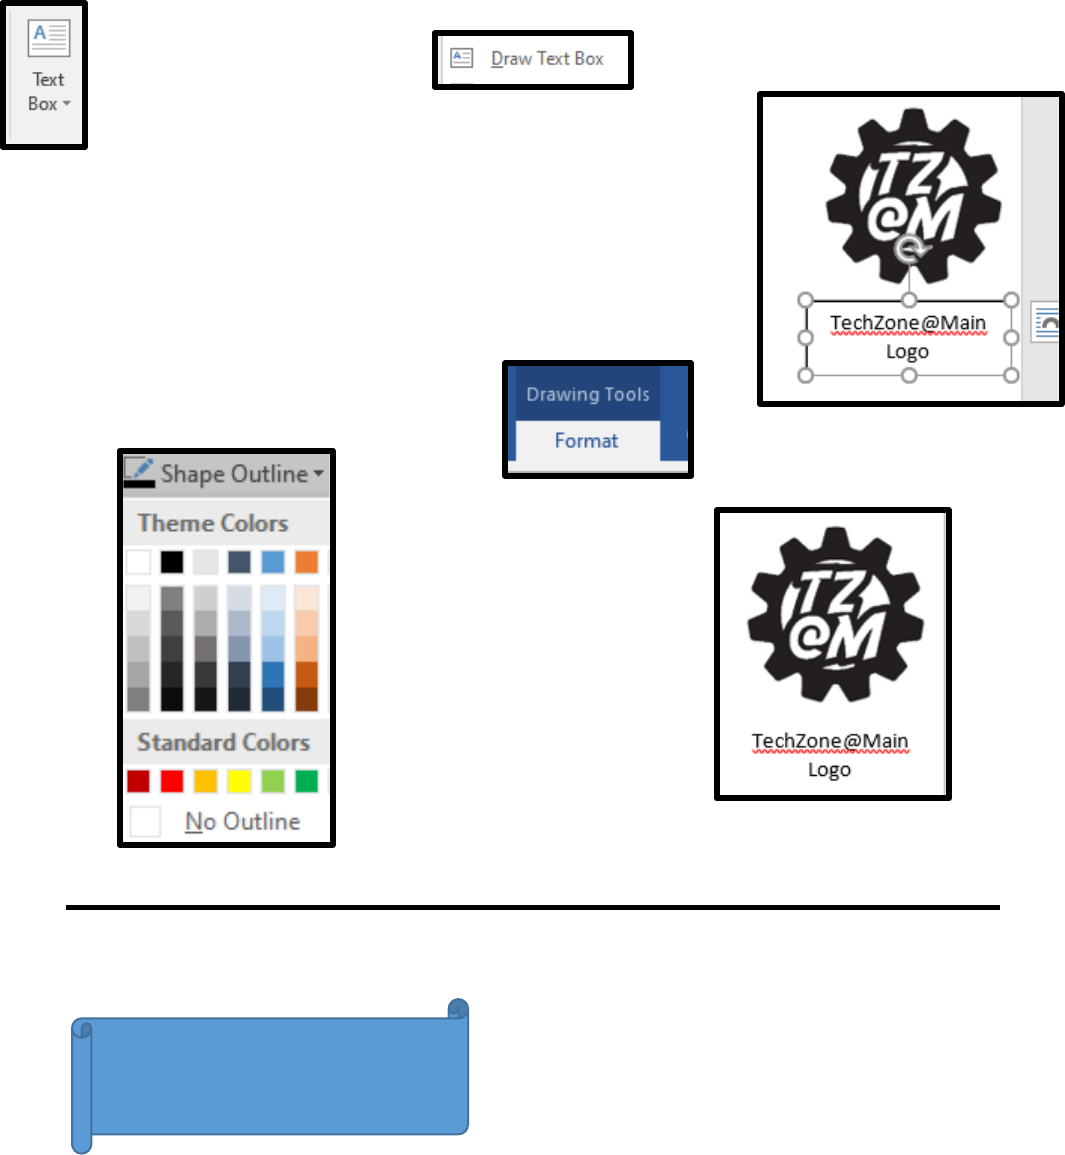
Let’s put a text box under the picture we just inserted that says TechZone Logo.
Click on Insert.
Click on Text Box.
Click on Draw Text Box.
Your mouse will become a black plus sign, click on your page
and draw a box.
It doesn’t matter how big we can resize it as needed.
It doesn’t mattere where you draw it be can move it too.
In the text box, type TechZone@Main Logo.
Click on home and choose the center button to center the
text.
Now resize the text box to just fit around the text.
Then move the text box to right below the picture.
Let’s go to Drawing Tools format and make the outline
around the text box disappear.
Click on Shape Outline.
Click on No Outline.
It should look like this now.
Shapes
Shapes consist of various shapes, such as circles,
squares, arrows, and callouts that aid in illustrating
points in your presentations. To insert a Shape:
Click on the Insert tab and then on the Shapes button.
Select the shape you need.
Shapes

9/6/2022 Word 4 Page 6 of 11
The menu will disappear and your cursor will change to a black cross shape when
moved into the document area.
Click and drag your mouse to tell the computer how large you would like your shape to
be. (Remember to drag diagonally across the page!) You can use the resizing circles to
change the size of the shape once it has been drawn.
To change the colors of your shape:
Click on the shape you wish to change. The Drawing Tools Format tab should become
active.
Click on the option you wish to change from the Shape Styles area. (Note that this
works the same way as adding color to a text box.)
You can add text to the
inside of a shape (as long as
it isn’t a line).
Once the shape has been drawn, right click on the shape.
Select Add Text.
Start typing your text.
Use the Font tools on the Home tab to modify the text.
Tables
Tables are a great way to organize text.
On the Menu bar click on the Insert tab, then on
the Table button. Move your mouse to the
bottom corner of the table size you would like to
insert (i.e. 5x4). Click when you have finished
deciding and your table will appear. Other
options here include Insert Table…, Draw
Table, etc.
If you choose Insert Table… from the Table
button, the Insert Table box will open.

9/6/2022 Word 4 Page 7 of 11
Use the arrows to select the number of columns and
rows that you will need.
AutoFit behavior adjusts the table’s columns and rows
to accommodate the text. Fixed column width keeps
each column equal to whatever measurement you
choose from the box to the right. AutoFit to contents
means the columns will only be as wide as the words
inside it. AutoFit to window is used to make each
column of equal width and fit the entire width of the
paper. (This is the same as choosing Fixed column
width: Auto.) After you make your selections click OK.
A table will appear on your page.
List to Table:
Word can also convert a list of text into a table. Be sure to separate each item (i.e., item and
price) by tabs so that Word will know which cell to put each item. Open the Word 4
Example.docx to practice.
Highlight the text (under List to Table Example heading) to
select what is going into the table.
Click on the Insert tab
Click on Convert text to table.
Choose how many columns that you want and click OK.
Word will create a table.
Tent
$300
Sleeping-Bags
$200
Lanterns
$50
Cooler
$40
Flashlights
$25
9/6/2022 Word 4 Page 8 of 11
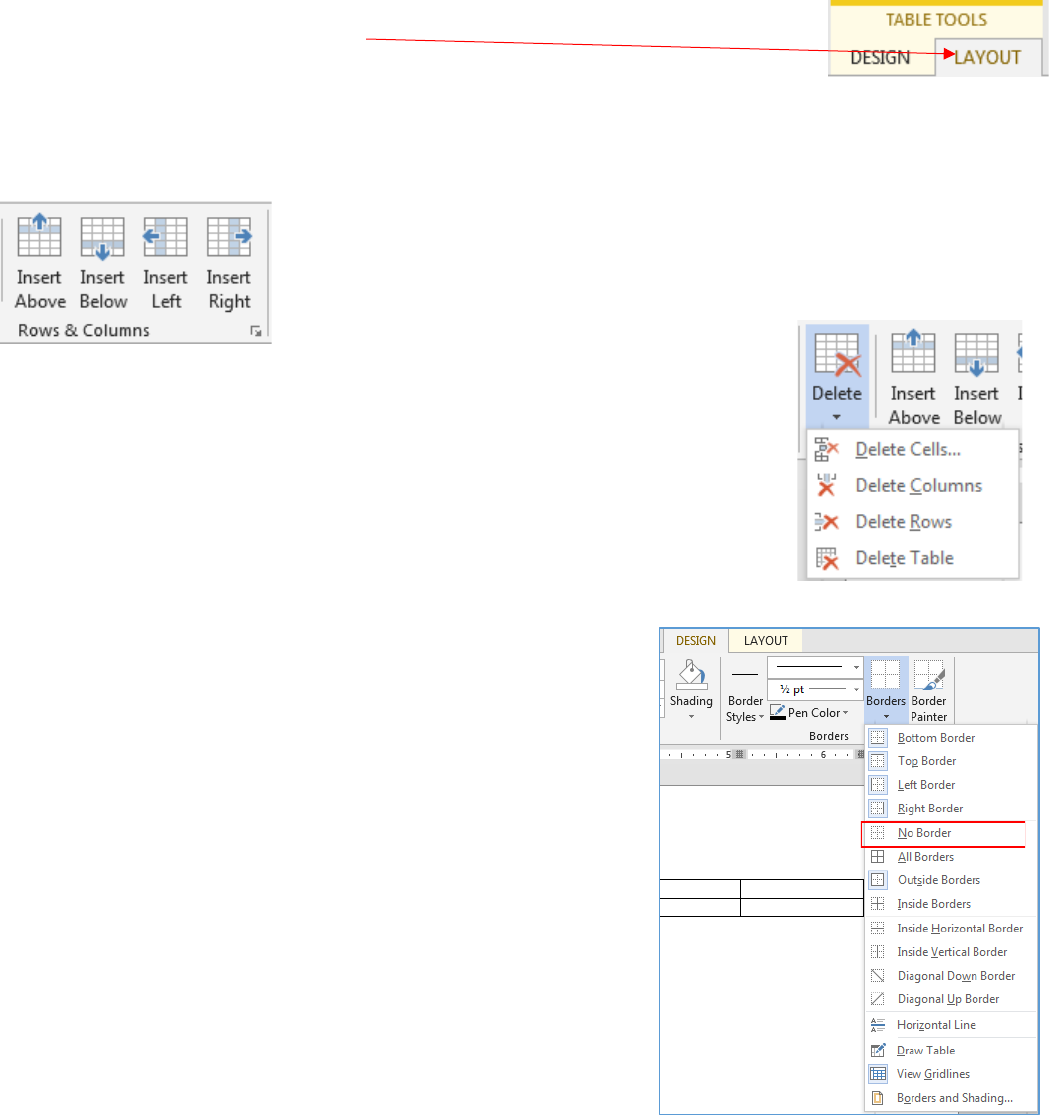
If you need to add rows or columns to your table, go to the Table Tools section
and click the Layout Tab.
Click in a cell in the area you would like to add a column or row. Then click on the appropriate
button.
To delete a column or row (and any text you have typed in that row or column)
click somewhere in the row or column you want to delete, and then click on the
Table Tools Layout tab. Choose the appropriate option from the list.
To hide the grid lines of the table:
Click in the cell of your table where you want to hide the
grid lines.
Click on the Table Tools Design tab.
Click on the down arrow at the bottom of the Borders
button.
Click on No Border.
Your text will remain in place but the grid lines will disappear.
Notice that this box allows you to change the line style, color, and
width of a border that affects the entire table.

9/6/2022 Word 4 Page 9 of 11
Click on the Borders and Shading option at the bottom.
Make sure you pick where to apply that line
style to from the list on the left. (Box, All,
Grid, etc.)
Creating custom borders:
Click in your table (anywhere will do).
Click on the Table Tools Design tab.
Select the desired pen color, line style and line weight.
Click the Borders drop down arrow.
Choose your Border type from the list.
To have Word create a customized table design for you:
Click in your table.
Click on the Table Tools Design tab.
Choose a design from the Table Styles on the ribbon, or click on the down arrow to see
all of your
options.

9/6/2022 Word 4 Page 10 of 11
Charts
While Excel is the superior program to use when creating charts, you can create one in Word
from a Word table. You need to copy and paste data from Word to Excel .To create a Word
chart from a Word table, use the table under Chart Example in the Word 4 Example.docx.
Click on the line (below the table) in your document where you would like the chart
to appear.
Click on the Insert tab and on the Chart button.
Select the style of chart you would like to use and click on OK.
Highlight the area of your table that you would like
to create a chart from.
Item
Cost
With
Discount
Savings
Tent
$300
$280
$20
Sleeping-Bags
$200
$180
$20
Lanterns
$50
$48
$2
Cooler
$40
$35
$5
Flashlights
$25
$22
$3
Click on the Home tab and on the Copy button or
use Control +C to copy.
Go to the Excel document.
Click in cell A1.
Do Control +V to paste or right-click on the cell and
select the second choice on Paste. The data will
appear in Excel sheet and a Chart will be drawn in
your document automatically. You can delete
floating Excel Window once your chart appears.
$0
$50
$100
$150
$200
$250
$300
$350
Tent Sleeping-Bags Lanterns Cooler Flashlights
Chart Title
Cost With Discount Savings

9/6/2022 Word 4 Page 11 of 11
There are many ways to customize your chart by using the Chart Tools tabs from Design and
Format.
From Design Tab, you can:
Change the colors of the design
Switch the Columns and Row
Select different data
Edit the current data
Change the Chart Type
Click on the Plus sign next to the Chart will provide you to:
Edit the chart and axis titles
See Legend Options
Edit Data Labels
Add or remove grid lines
Add a Trendline
From the Format Tab, you can, edit the shapes and colors of each bar, shape or line.
Remember to click on the bar, shape or line you want to change before clicking on the
option from the ribbon.
